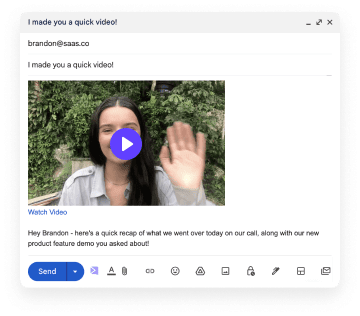
Video messaging is one of the most effective ways to communicate with customers. There are many reasons why you should consider adding video to your customer communication in Zendesk.
Why Send Videos in Zendesk?
Video a fantastic way to show, not tell, a customer your product or service. It is significantly more engaging to see a video showcasing a products’ uses than reading a paragraph of text explaining its uses. For example, emails that include videos in them can double email open rates from 40-80%.
Secondly, it's a great way to really go above and beyond to show a customer that you really care. Taking the time to record and send a video indicates a passion for your product that a customer is going to pick up on. You’re far more likely to garner interest from a customer if you can prove how much YOU care.
Thirdly, sending videos in Zendesk allows you to build a human connection with your customers. A video with your face and your voice is much more personable than a block of text in email format.
It allows the customer to really get to know you and join in your excitement for your product.
When to Send Videos for Customer Success
Now that we’ve established the benefits of utilizing video messaging in your customer communication, let’s discuss a bit more about WHEN you should send videos to customers.
Video messaging is a great way to welcome new customers . You can stand out in an email inbox, and, consequently book your first customer success meeting.
Videos are also a good idea when pursuing the onboarding process and focusing on client success. You can show your customers exactly what to do and how to get started with your product. It's much easier to explain how to get started in a video format than it is in text.
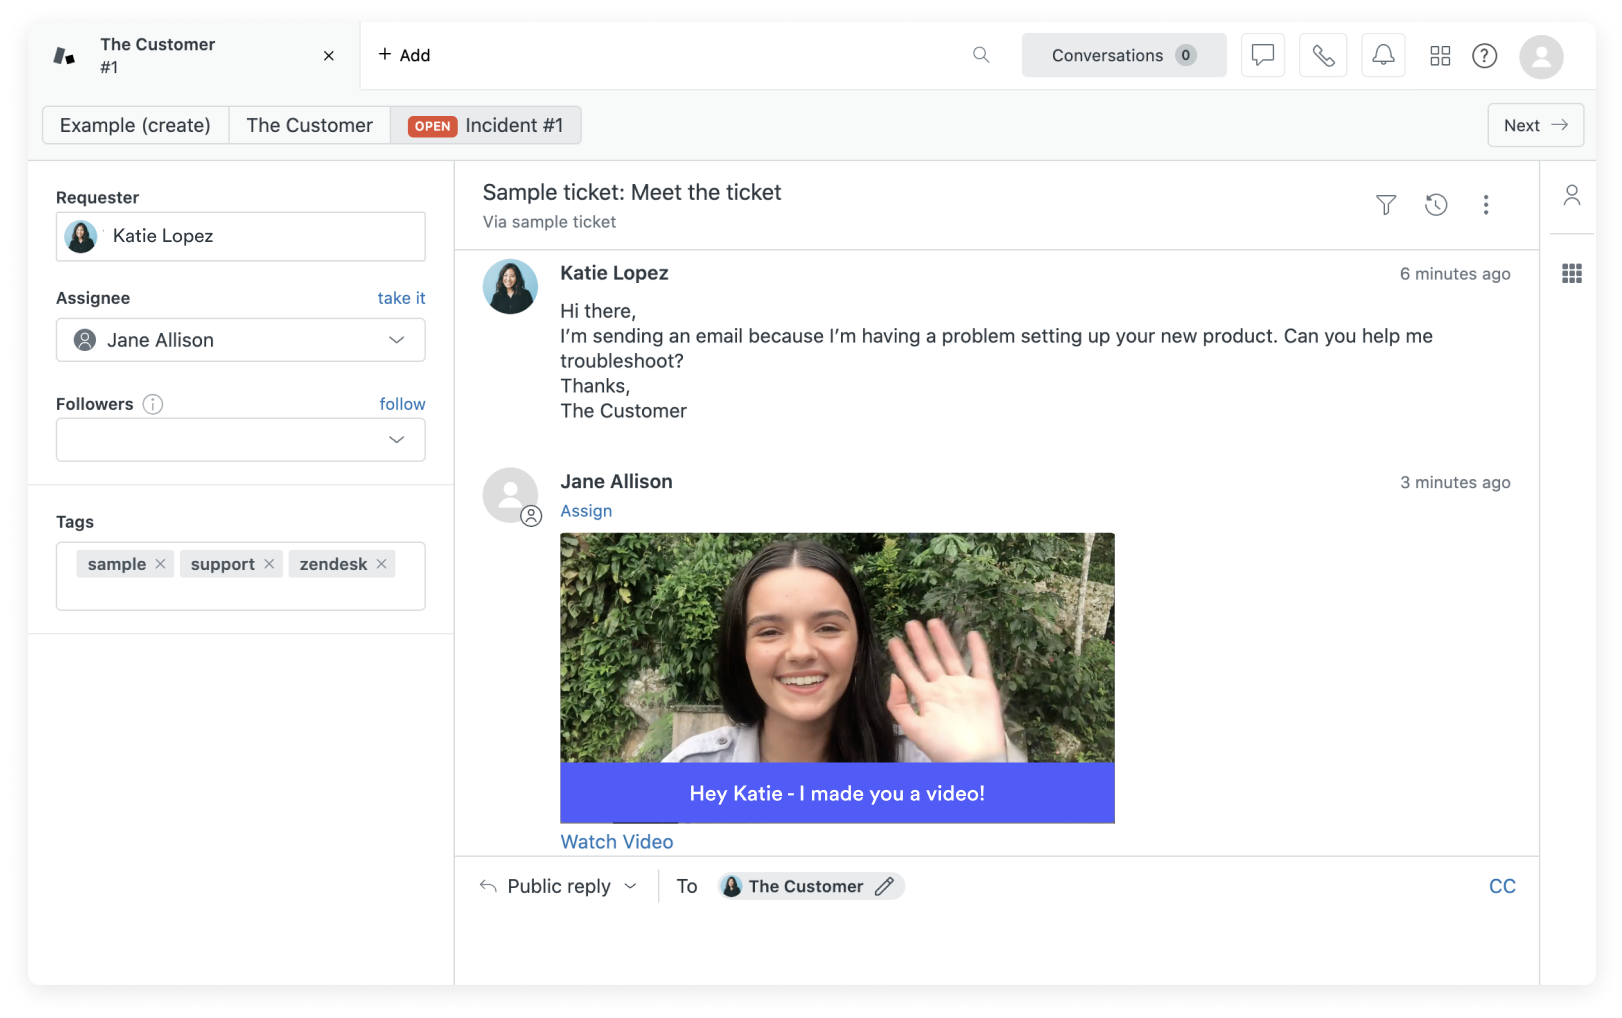
One of the best uses of video messaging is when administering customer support. Rather than attempting to explain a solution in a convoluted text-based message - that may get lost in translation - show your customer how to solve their issue in a video.
This way, you can solve customer issues in minutes, instead of hours.
How Personalized Should Videos Be?
There is no set way to structure the level of personalization in a video. It really all depends on the context in which you are sending your message, teamed with your relationship to the recipient.
When sending videos in Zendesk, there are three levels of personalization to consider:
1. Truly personalized videos
These videos are good for showing a specific customer how to solve a specific problem. It might take you a few minutes to record, but they can often save you an hour of back-and-forth convos or a lengthy meeting. In general, the video shouldn’t be longer than a minute or so in length.
2. Automatically Personalized Videos
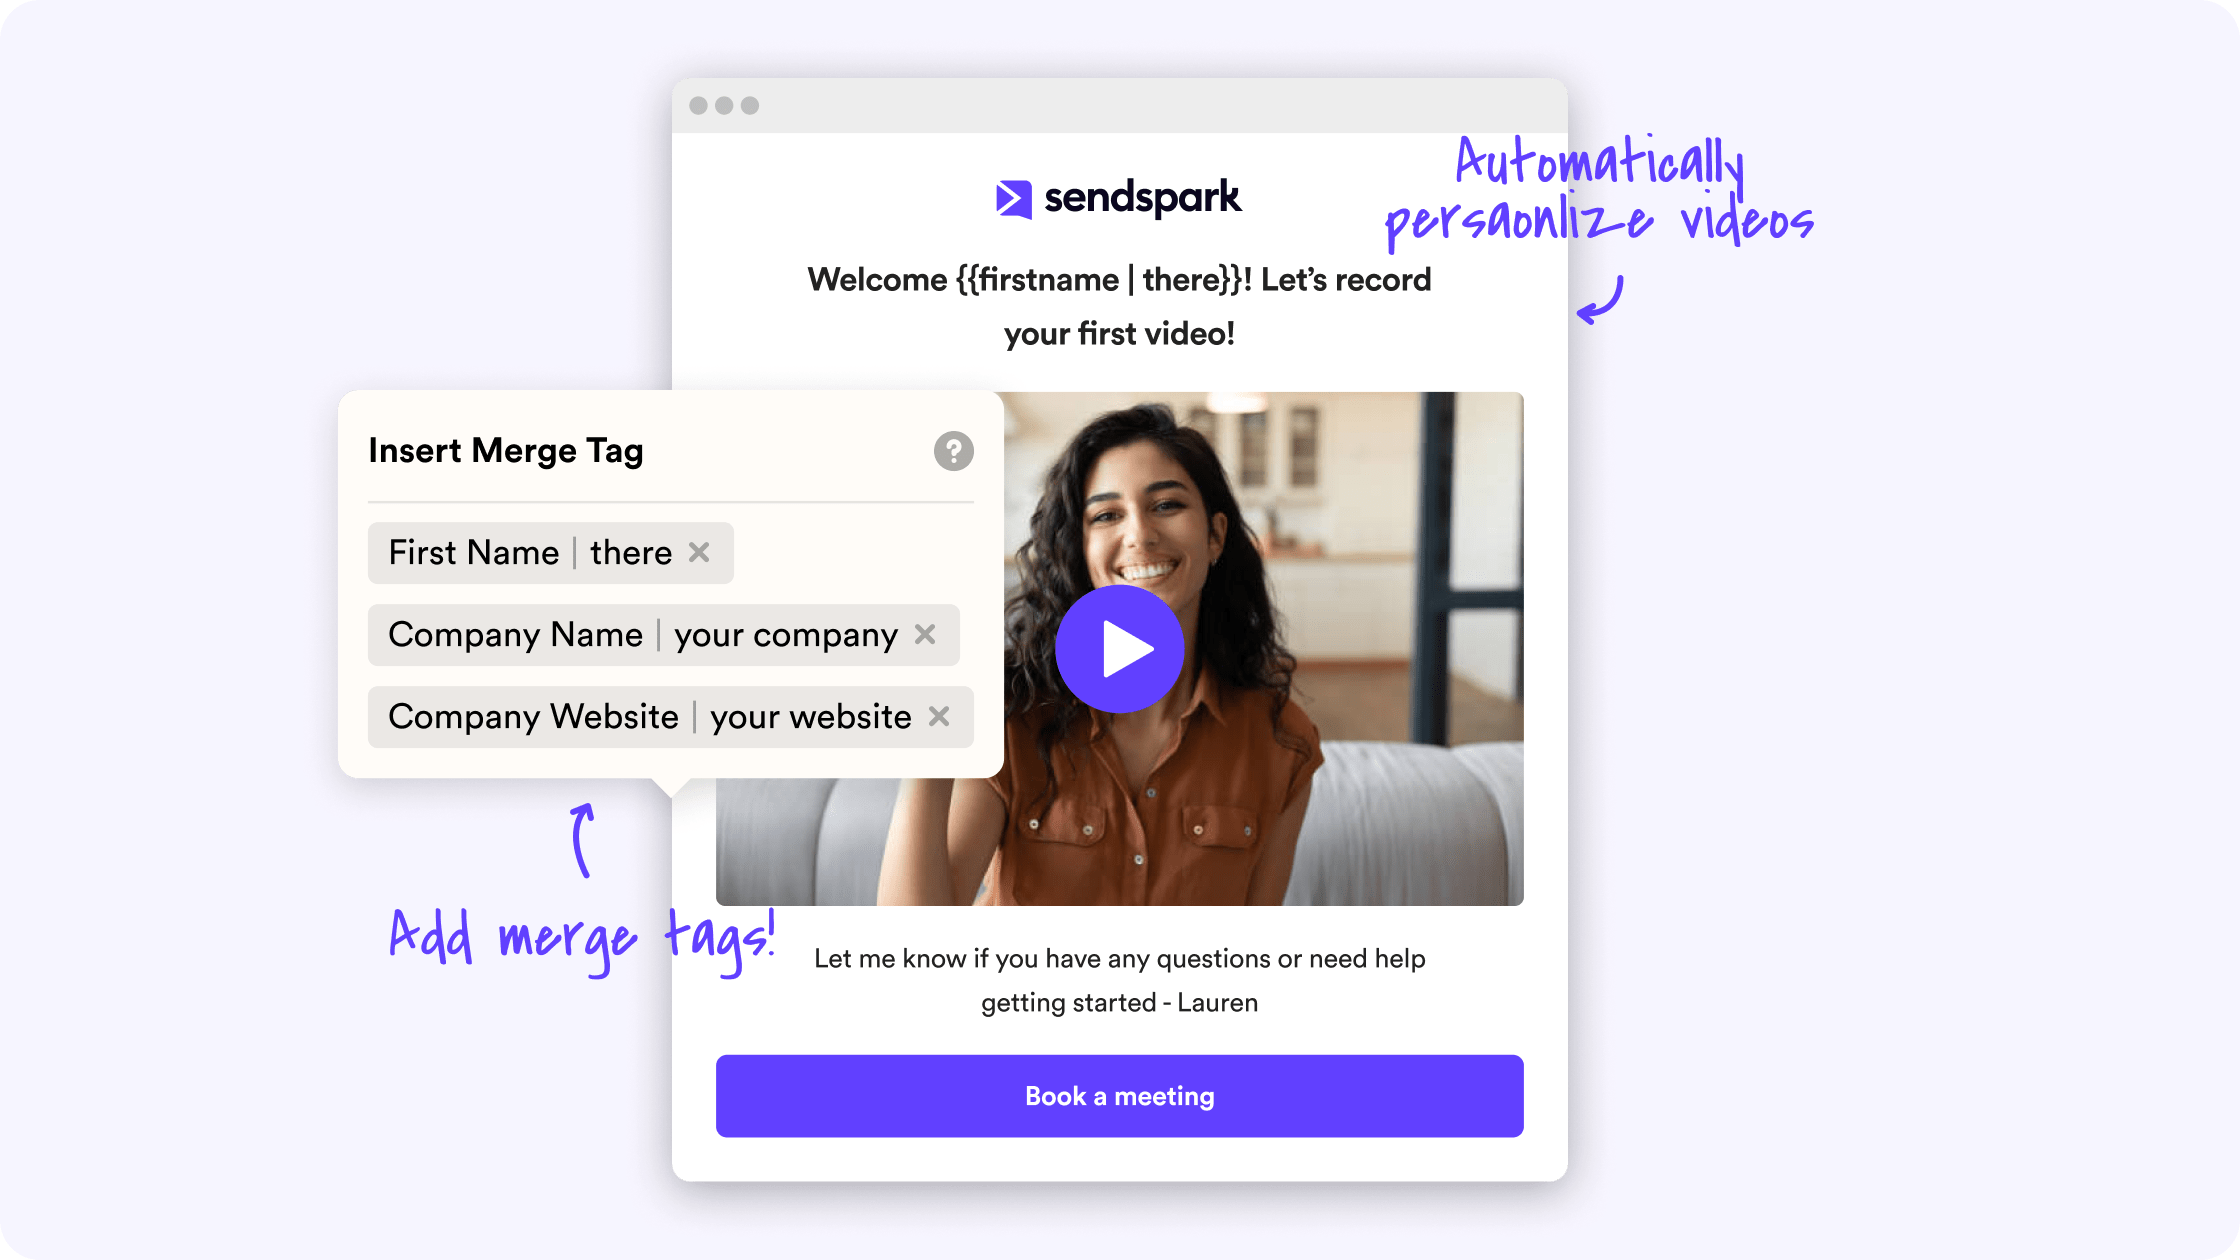
Using Sendspark, you can save one video in a Zendesk macro, and automatically add the viewer’s name, company, and other personal info, automatically.
This is super fast – for both you and your customer – which makes it great for customer support, where speed is the highest priority.
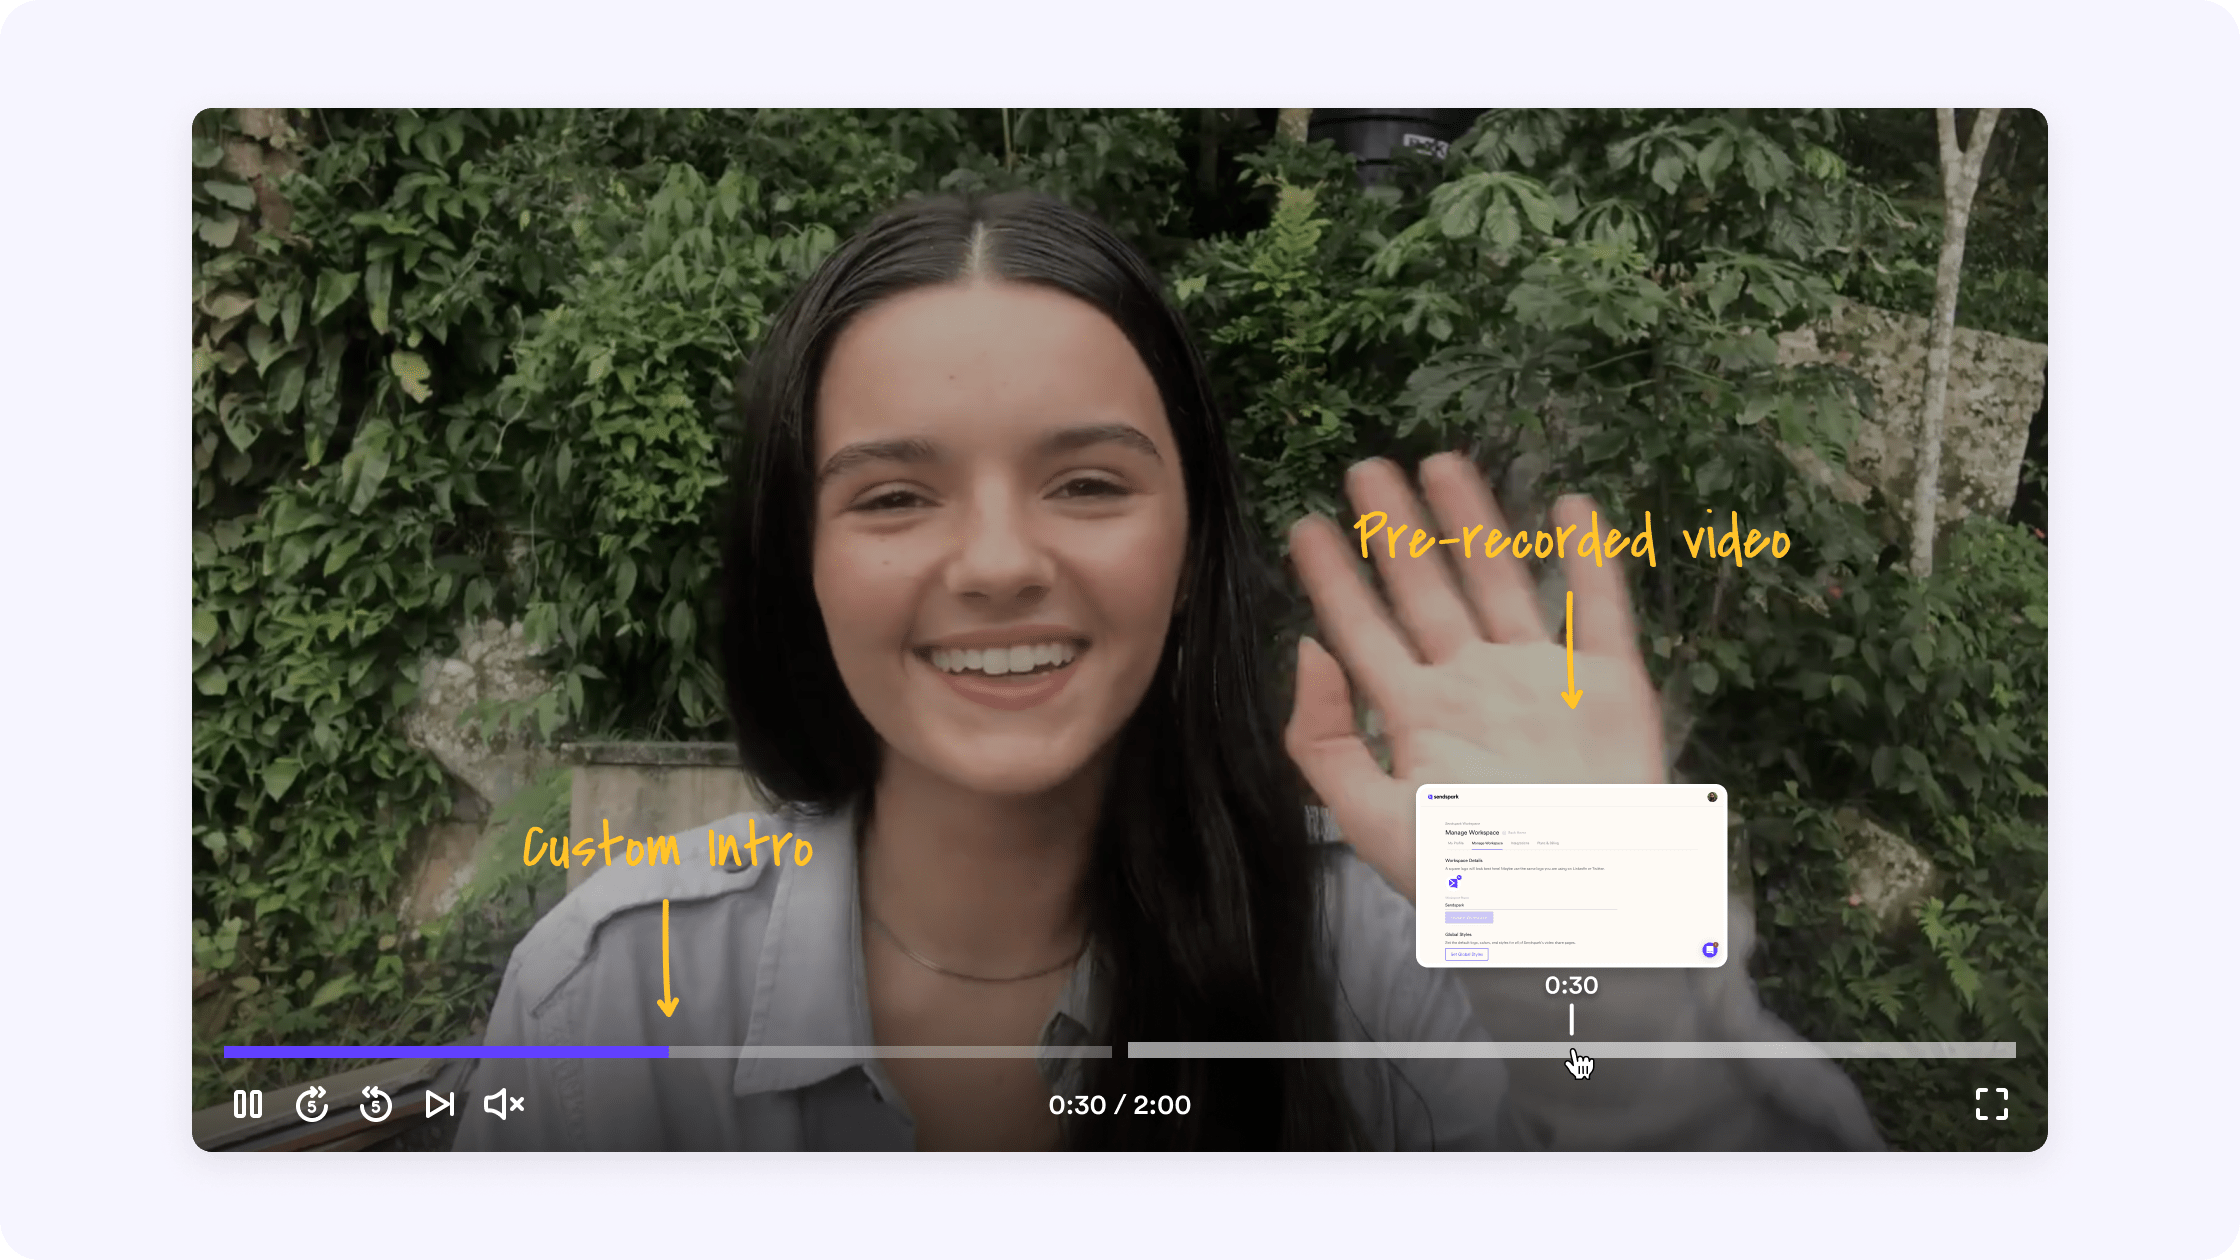
3. Hybrid Personalize (Combine Custom Intros with Existing Videos)
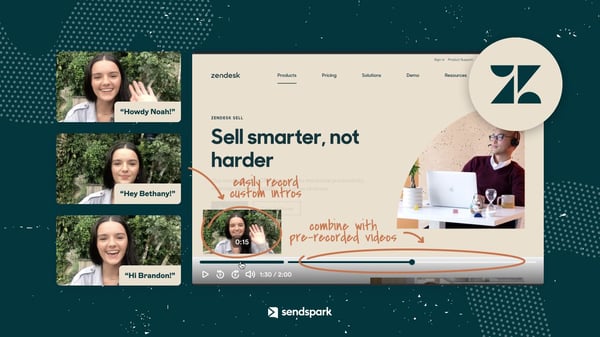
This is a great blend for fast communication with a truly personalized touch. You can record a 15 second intro to create a more intimate experience, and then attach it onto a more broad, existing video.
This is recommended for more personal onboarding with important clients, or high stakes de-escalation for customer support.
How to Send Videos Using Zendesk and Sendspark
The Sendspark Zendesk Integration makes it fast and easy to send videos right from Zendesk for customer success. You can send truly personalized videos, automatically personalized videos, and hybrid personalized videos to connect with your customers at scale.
1. Record Personalized Videos in Zendesk
Follow these steps to record personalized videos in Zendesk:
- Install the Sendspark Chrome Extension to easily access Sendspark from Zendesk
- From Zendesk, clicking the Sendspark icon in Zendesk. An option will pop up to record a new video, but clicking this will provide you with a list of other options as well (Request video, Meet now, Send calendar, Add last recording & Video library).
- Record your video!
- Once you’ve finished recording, you can either insert your video right away, or click "add video" to combine your video with a pre-existing video.
- Now, simply click the “Linked GIF” option in Sendspark to copy the video preview to your clipboard and then paste it directly into your Zendesk email. Et voila! Your beautiful new personalized video message is ready to send.
You can read more about how to send personalized video emails using Zendesk and Sendspark, here.
2. Send Automatically Personalized Videos in Zendesk
Follow these steps to send out bulk personalized videos in Zendesk:
- Start by recording or uploading your video in Sendspark.
- After recording or uploading, there will be an option to use dynamic variables on your video as placeholders for your viewer’s personal info (i.e. first name, job title, or company name). This will allow for a little more personalization on a video that is otherwise automated.
- Once your video is complete, click the “Share Video” button. Then, under “Share with Personalization,” click on Zendesk. This action copies the Zendesk video snippet to your clipboard.
- Now, open Zendesk and create a new macro. In the “rich content” area of your Zendesk macro, paste that Zendesk video snippet that you have in your clipboard from Sendspark.
- Now, you have a beautiful personalized video template that can be automated and sent to hundreds of customers, whilst still delivering a personalized experience.
You can read more about how to send automated video emails using Zendesk and Sendspark, here.
Get Started Today!
Using resources like Zendesk and Sendspark together is an efficient way to get your message out to prospects and increase your chance of receiving replies. These softwares work together seamlessly to deliver a wonderful video prospecting experience. Why wait? Get started with Zendesk and Sendspark, today!
