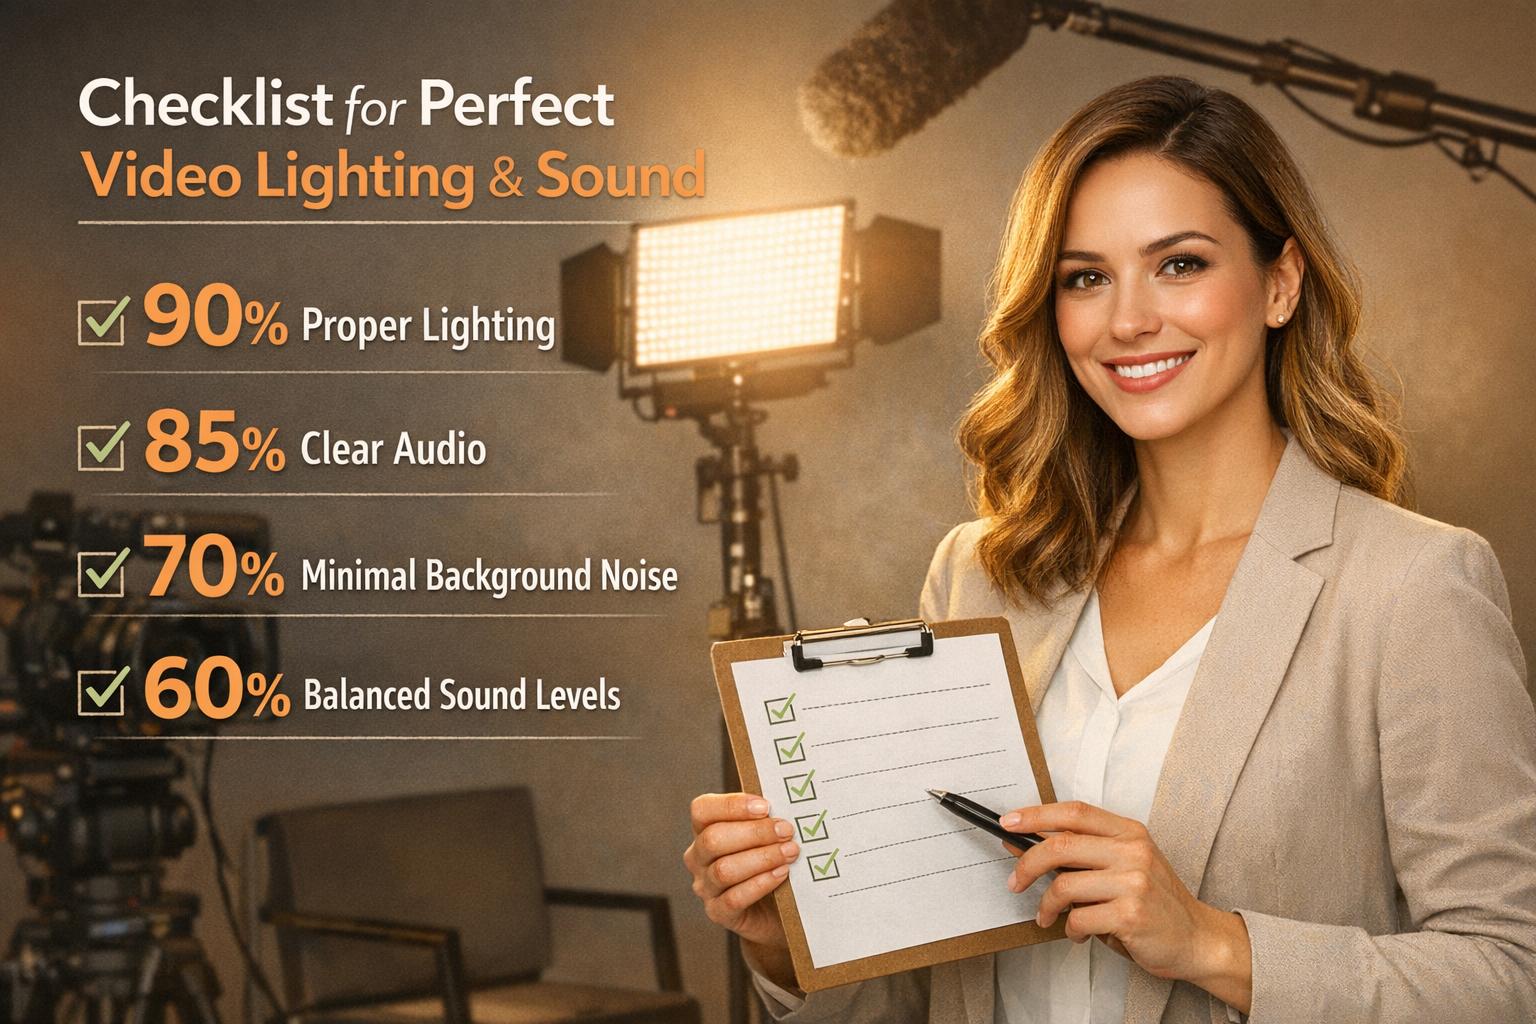
When creating videos, lighting and audio quality are everything. Poor visuals or scratchy audio can make your message seem unprofessional and drive viewers away fast. Here's a quick guide to ensure your videos look and sound great:
- Audio matters more than video: Viewers can forgive grainy visuals but not muffled or distorted sound.
- Affordable tools work: A $21 LED ring light and a $100 USB mic (like the Blue Yeti) can make a huge difference.
- Simple setup tips:
- Use soft furnishings (rugs, curtains) to reduce echo.
- Face a window for natural light or use a three-point lighting setup.
- Position your mic 6–12 inches away for clear sound.
- Test everything: Do a quick test recording to catch issues before you start.
With these steps, you'll ensure your videos grab attention and keep viewers engaged. Check out our video best practices for more expert advice. Ready to dive deeper? Let’s break it down.
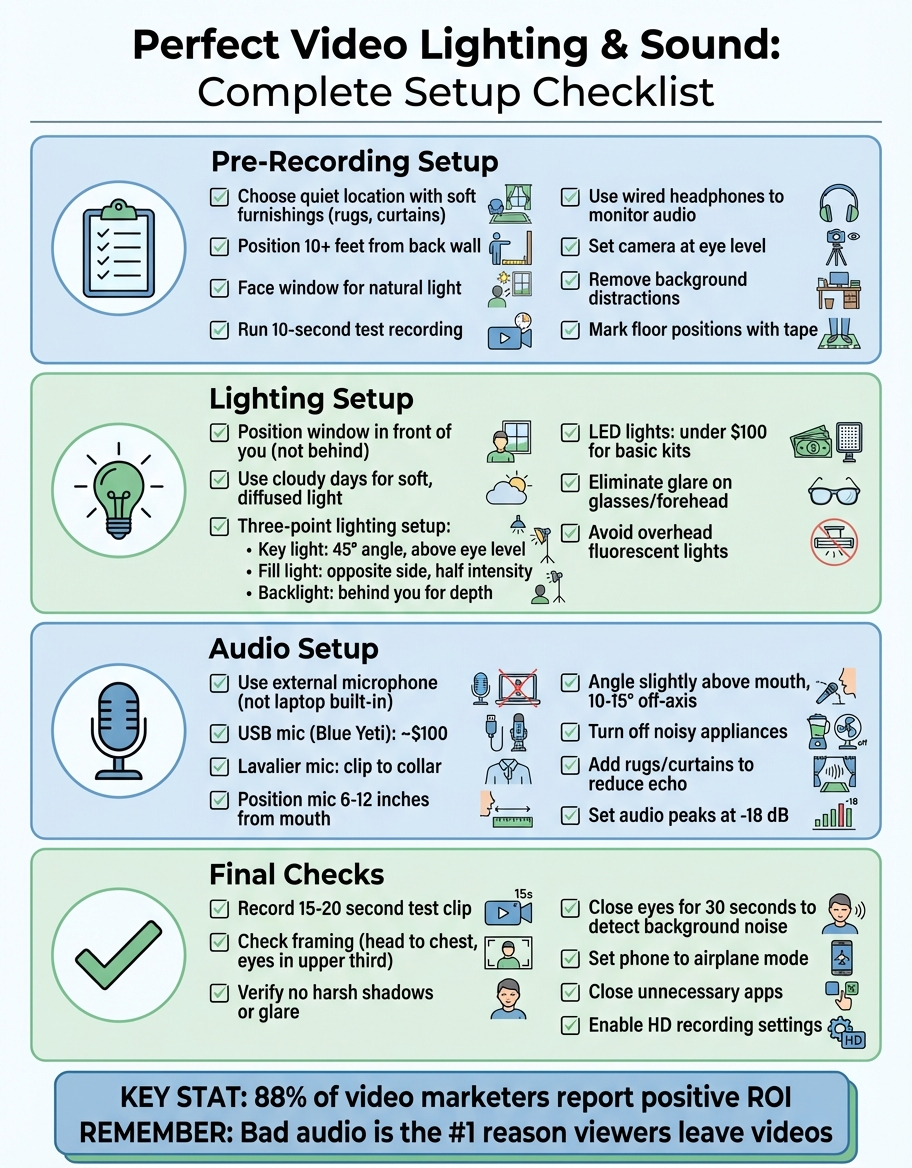
Video Recording Setup Checklist: Lighting and Audio Steps
Pre-Recording Setup Checklist
Choose Your Recording Location
Before hitting record, take a moment to stand quietly in your chosen spot with your eyes closed for about 30 seconds. This helps you notice subtle background noises - like the hum of a fridge or distant traffic - that could interfere with your recording.
Pick a room filled with soft furnishings such as rugs, curtains, or bookshelves. These items help absorb sound and reduce echo, giving your audio a more polished feel. Ideally, position yourself at least 10 feet away from the wall behind you to create a sense of depth and avoid a flat, unprofessional look.
When it comes to lighting, natural light works wonders. Face a window to let that soft, even sunlight illuminate you. If the window is behind you, it can turn you into a silhouette. As Wistia puts it:
Sunlight is the 'cheat code' for good webinar lighting. It's soft and it fills the room.
Lastly, secure some privacy. Interruptions - whether it’s a coworker walking in or a sudden announcement - can derail your recording flow.
Verify Equipment Functionality
Run a quick 10-second test recording to ensure everything is working properly. This step can reveal issues like a disconnected microphone, incorrect camera settings, or distracting glare.
Use wired headphones to monitor your audio for any clipping or distortion. Double-check that microphones are securely in place. If you're using a smartphone, make sure it's set to record in 4K at 30 fps and that you have enough storage space.
Try our free free webcam mic check.
Take a look at your camera preview to confirm proper framing. Enable grid lines to help with alignment. And remember this advice from Kelly Braun of Marketing Essentials:
Bad audio is the fastest way to get people to turn a video off.
Catching these problems now is far easier than realizing them after you've nailed what you thought was the perfect take.
Set Up Background and Camera Position
For the best perspective, position your camera at eye level. If you're using a laptop, stack a few books underneath it to achieve the right height. This ensures a natural and engaging angle.
Tidy up your background by removing distractions like cords, coffee cups, or random papers. Add a touch of personality with a neatly arranged bookshelf, a plant, or even a branded item from your company. As Stephanie Liu points out:
It creates that nice separation, that depth between you and whatever's behind you.
Once your setup is perfect, mark your floor positions with tape. This simple hack ensures consistent framing if you need to record multiple takes or future video prospecting sessions. Enable your camera's grid lines and use the "rule of thirds" to position yourself slightly off-center, giving your video a polished, professional look.
These steps help ensure your setup is clear and visually appealing. With your location, equipment, and background ready, you’ll be set to fine-tune your lighting for the best results.
sbb-itb-afd3f9e
Full Guide To Lighting Your YouTube & Video Podcast Studio
Lighting Setup Checklist
Good lighting can make a huge difference in the quality and appeal of your videos.
Use Natural Light Correctly
Natural light is a fantastic, free resource - if you know how to use it. Position yourself so the window lights your face directly, with the camera placed between you and the window. This prevents the dreaded silhouetted look. As Alexandra Monfalcone from Sendspark explains:
Having a light source, like a window, in front of you does a great job lighting your face.
Cloudy days are your friend here. Overcast skies naturally diffuse sunlight, giving you soft, even lighting without harsh shadows. If the sun is too bright, you can tone it down by partially closing blinds or using a sheer curtain to soften the light. This keeps your video looking balanced and avoids a washed-out effect.
Also, avoid mixing different types of light - like warm and cool tones - as this can throw off your camera's white balance. A quick rule of thumb? If the room is bright enough to comfortably read a book, it’s bright enough for filming.
When natural light isn’t cutting it, it’s time to switch to artificial lighting.
Configure Artificial Lighting
Artificial lighting is your go-to when natural light isn’t available or reliable.
A three-point lighting setup is a classic choice for creating a polished look. Here’s how it works:
- Place your key light at a 45-degree angle to one side of your face, slightly above eye level. This is your main light source.
- Use a fill light on the opposite side to soften shadows. Keep it at about half the intensity of the key light.
- Add a backlight behind you to separate you from the background and add depth. Stephanie Liu emphasizes this point:
It [backlight] creates that nice separation, that depth between you and whatever's behind you.
LED lights are a solid choice - they’re energy-efficient, stay cool, and many are battery-powered. If the lighting feels too harsh, you can diffuse it by shining it through a white bedsheet or frosted shower curtain. For those on a budget, complete three-point lighting kits are available for under $100, and more advanced studio bundles can be found around $200.
Eliminate Shadows and Glare
Before you hit record, check your camera’s viewfinder for any glaring issues - literally. "Hot spots" on your forehead or glare on your glasses can be distracting. To fix this, raise your lights higher or adjust their angles to avoid reflections.
Stay away from overhead fluorescent lights if you can. They tend to cast unflattering shadows and give everything a pale yellow tint. If shadows are still too dark, try increasing the brightness of your fill light or moving it closer to your face. Persistent glare? Adjust the light’s position or shift your own until the reflection disappears from the frame.
Audio Setup Checklist
As Kelly Braun from Marketing Essentials says:
Bad audio is the fastest way to get people to turn a video off.
Even if your video looks amazing, poor audio quality - like muffled voices, background noise, or distant sound - can drive viewers away. Here’s how to ensure your audio is crisp and clear from the start.
Choose and Position Your Microphone
Built-in laptop microphones often pick up too much echo, making your voice sound distant or hollow. Instead, invest in an external microphone for better clarity. USB microphones, like the Blue Yeti, are an easy option for desk setups (priced around $100). For something more discreet, consider a lavalier (lapel) mic that clips to your collar - just tuck the cord under your shirt to keep it out of sight. If you’re using a boom mic, position it at a 45° angle in front of you, ensuring it stays out of the frame.
For the best sound quality, maintain a distance of 6 to 12 inches between your mouth and the microphone. In noisier environments, move the mic closer - around 6 inches - to reduce background interference. Positioning the mic slightly above your mouth, angled downward between your nose and forehead, captures natural resonance while reducing harsh "p" and "b" sounds. Angling it 10–15° off-axis can also minimize room reflections .
Reduce Background Noise
Before recording, take 30 seconds to sit quietly in your space and listen for any unwanted noise - this could be a humming fridge, traffic outside, or even an air vent. Turn off noisy appliances and set your phone to Do Not Disturb.
If your room feels too echoey, soften it by adding rugs, curtains, or pillows to absorb sound. Avoid recording in the center of a room or near corners, as these spots can amplify echoes and low-frequency sounds. For unavoidable background noise, like construction or traffic, try noise-canceling tools such as Krisp.ai.
Test Audio Levels Before Recording
Always do a test recording. Speak for 15–20 seconds, then play it back using headphones to check for clarity, volume, and any background noise . Fixing audio issues later is tough, so getting it right from the start saves you a lot of hassle. Professionals typically set audio levels so that peaks hit around -18 dB to avoid distortion. If you’re unsure, record at a slightly lower volume - you can always boost it during editing. Using headphones to monitor live audio lets you catch problems like clipping or unwanted noise right away .
Once your audio checks out, you’re ready to deliver a polished and professional video message. This is especially important when creating personalized video content to build trust with your audience.
Final Pre-Recording Checklist
You've set up your lighting and audio - now it’s time to ensure everything works seamlessly before hitting record. These last-minute checks help confirm that every detail - from how you look to how your equipment is configured - is ready for a smooth recording session.
Check Personal Appearance
Make sure your camera is positioned at eye level and framed for a medium shot (head to chest), with your eyes aligned in the upper third of the frame. Adjust the lighting to avoid glare on glasses, and sit or stand with good posture. Take a moment to pause, smile, and channel extra energy - it might feel exaggerated, but on camera, a little extra enthusiasm goes a long way.
Run a Complete System Test
Record a short 15–20 second test clip to double-check everything. Use headphones to ensure your audio is clear and free of distortion, verify that your lighting is even with no harsh shadows, and confirm your framing looks good. Make sure HD video or high-quality recording settings are enabled. If you encounter any issues, leave a silent gap of 5–10 seconds during the test to make editing easier later.
Eliminate Distractions and Turn Off Notifications
Close your eyes for 30 seconds to identify any background noise, like buzzing from vents or traffic sounds. Turn off fans, air conditioners, and other noisy appliances. Set your phone to airplane mode or Do Not Disturb, close unnecessary apps on your computer, and tidy up your background to remove visual distractions.
As TechSmith explains:
Anything that takes away from the message of your video should be removed. The goal is to create a clean canvas that will help to keep your audience focused and engaged.
With these steps complete, you’re all set to record a polished and professional video. This preparation is especially critical when mastering video prospecting to ensure your outreach feels high-quality and trustworthy.
Conclusion: Creating Professional Video Messages
Nailing the basics of lighting and audio is key to effective video prospecting. With 88% of video marketers reporting a positive ROI, getting these technical elements right can make a noticeable difference in your results.
Pay close attention to audio quality - it’s non-negotiable. Viewers might overlook less-than-perfect visuals, but bad sound will have them clicking away almost instantly. To ensure your video looks and sounds professional, position your lighting source in front of you, invest in video prospecting tools like an external microphone, and always run a test recording before finalizing. This simple checklist ensures your video is polished and ready to grab attention.
Once your high-quality video is ready, Sendspark can help you take it further with AI-powered personalization at scale. Record your message once, and then personalize it for thousands of recipients using tools like AI voice cloning or dynamic website backgrounds. Sales teams using these features report 2-3x more replies.
Sendspark also makes sharing your video seamless. With features like custom CTAs, engagement analytics, and the ability to combine personalized intros with pre-recorded demos, you can streamline your outreach efforts.
FAQs
What’s the fastest way to fix echo in a room?
To fix echo in a space, focus on reducing reflective surfaces and incorporating materials that absorb sound. Here are some practical steps you can take:
- Add soft items like foam panels, rugs, or curtains to walls and floors to dampen sound.
- Arrange furniture or soft furnishings strategically to help absorb noise.
- Keep your microphone close to your mouth for better sound clarity.
- Limit hard surfaces, such as glass or tile, which tend to reflect sound.
- Opt for a directional microphone to capture your voice while minimizing background noise.
These adjustments can make a noticeable difference in reducing echo and improving audio quality.
How do I stop glare on my glasses and shiny skin?
To cut down on glare from glasses and shiny skin in video recordings, tweak your lighting setup to reduce reflections. Opt for soft, diffused light sources to create even lighting. Position the lights at angles that steer clear of directly bouncing off your glasses or skin. Steer away from placing overly bright lights directly in front of you - this helps improve video quality and minimizes distracting highlights.
What mic should I use for video prospecting?
For crystal-clear audio in your video prospecting efforts, consider using a high-quality microphone like a lavalier mic or a USB condenser mic. Poor sound quality can easily distract your audience and dilute the impact of your message. Investing in dependable audio gear ensures your message comes through loud and clear.


